Jump to:
Onigiri Rice Ball Snack: Traditional Japanese Comfort Food Made Simple
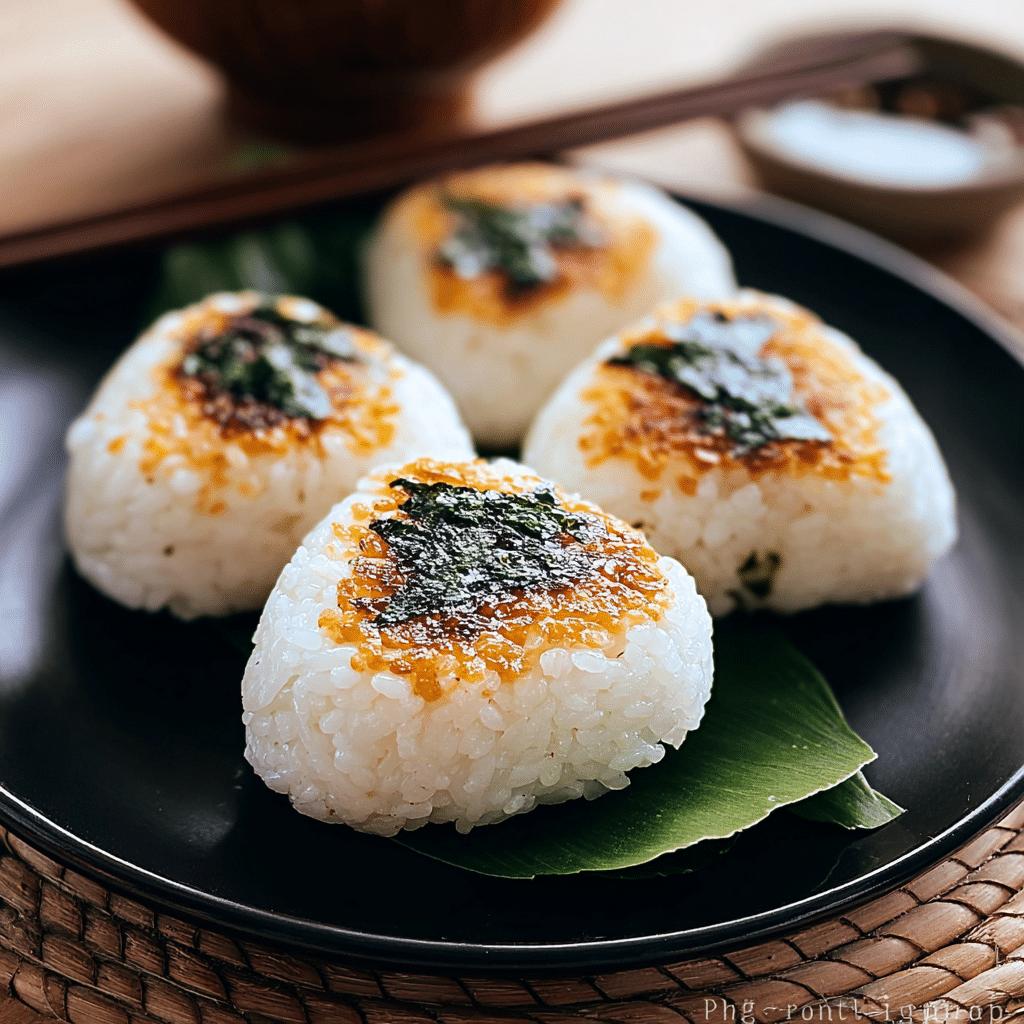
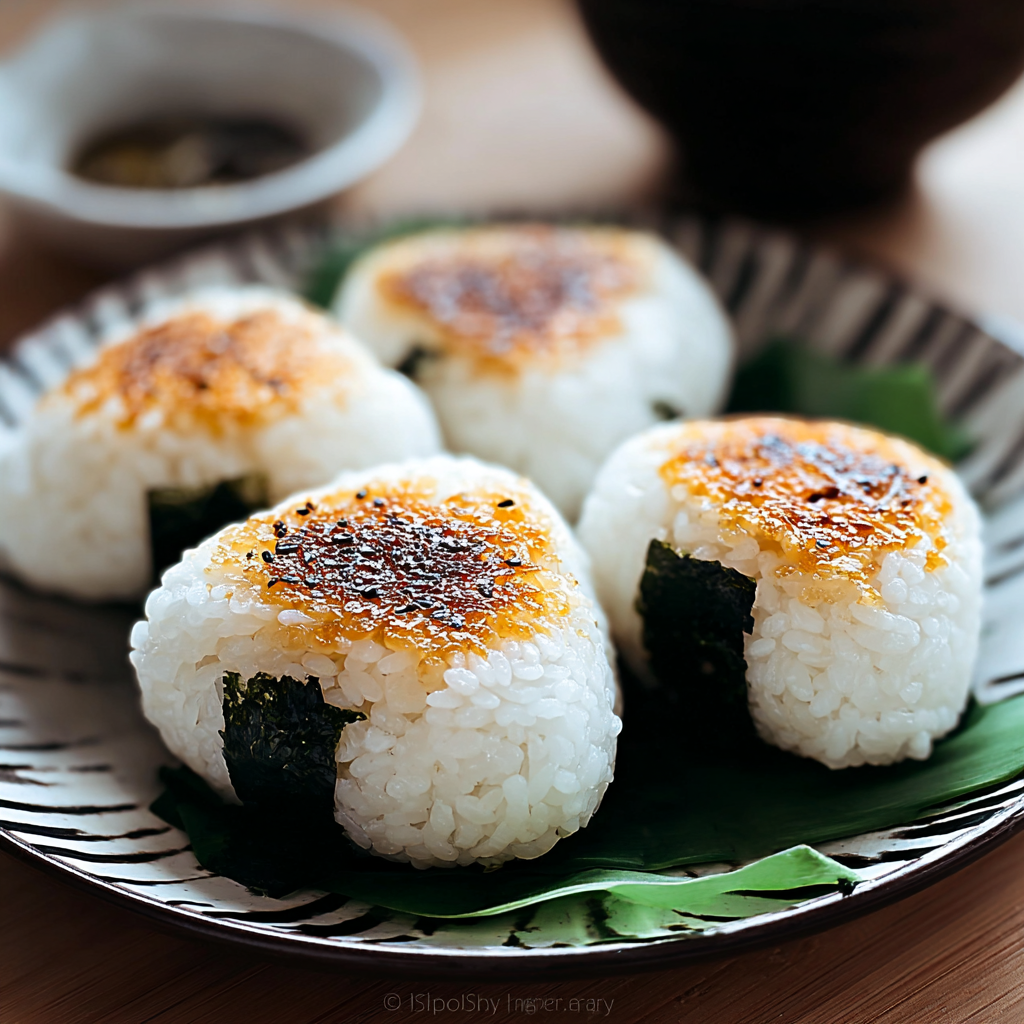
The onigiri rice ball stands as one of Japan’s most beloved comfort foods, combining simplicity with incredible satisfaction. This traditional snack transforms basic short-grain rice into a portable, nutritious meal that’s perfect for busy lifestyles. Whether you’re packing lunch for work or need a quick energy boost, mastering the onigiri rice ball recipe opens doors to endless flavor possibilities.
Why You'll Love This Recipe
- Budget-friendly ingredients costing less than $2 per batch make this an economical snack option for families
- Portable design makes it perfect for picnics, work lunches, or after-school snacks without messy cleanup
- Naturally gluten-free base accommodates various dietary restrictions while providing sustained energy
- Customizable fillings allow you to use leftover proteins, vegetables, or condiments creatively
- Quick 40-minute preparation time includes mostly hands-off cooking, perfect for meal prep sessions
Why This Onigiri Rice Ball Recipe Works
This onigiri rice ball method succeeds because it focuses on proper rice preparation and handling techniques. Short-grain rice provides the sticky texture essential for shaping, while the salt enhances flavor without overpowering delicate fillings.
The key lies in timing and temperature control. Working with warm rice ensures better binding, while moistened hands prevent sticking during formation. This approach creates perfectly shaped onigiri rice ball snacks that hold together beautifully.
The versatility factor makes this recipe incredibly practical. You can prepare multiple variations simultaneously, accommodating different taste preferences within one cooking session. This efficiency makes it ideal for family gatherings or meal preparation.
What You’ll Need to Make Perfect Onigiri Rice Ball
Ingredients
| Ingredient | Quantity (Approx) | Purpose / Notes |
|---|---|---|
| Short-grain rice | 1 cup | Provides sticky texture for shaping |
| Water | 1¼ cups | Cooking liquid for rice preparation |
| Salt | ½ teaspoon | Enhances flavor and preservation |
| Nori seaweed sheets | 2 sheets | Wrapper for grip and flavor |
| Filling of choice | 1 tablespoon each | Core flavor component |
Tools
| Tool | Purpose |
|---|---|
| Rice cooker or medium pot | Cooking rice to perfect consistency |
| Fine-mesh strainer | Rinsing rice until water runs clear |
| Large mixing bowl | Seasoning and cooling cooked rice |
| Small bowl with water | Keeping hands moist during shaping |
| Sharp knife | Cutting nori sheets into strips |
How to Make Onigiri Rice Ball Snack
| Step | Instructions |
|---|---|
| Step 1: Prepare Rice | Rinse short-grain rice under cold water until clear, then soak for 30 minutes to ensure even cooking |
| Step 2: Cook Rice | Cook rice with 1¼ cups water in rice cooker or pot over medium heat until absorbed (18-20 minutes), then rest covered for 10 minutes |
| Step 3: Season Rice | Transfer warm rice to bowl and mix in salt while still warm for even distribution |
| Step 4: Shape Onigiri | Moisten hands with water, take two tablespoons seasoned rice, flatten slightly, add filling, and shape into triangles or balls |
| Step 5: Wrap and Serve | Wrap each onigiri rice ball in nori strips if desired, then serve immediately or pack for later consumption |
The shaping process requires gentle pressure to maintain rice integrity while creating compact forms. Work quickly but carefully, as rice cools and becomes harder to manipulate over time.
Chef's Helpful Tips
- Use a rice-to-water ratio of 1:1.25 for perfectly sticky texture that holds together without being mushy
- Keep a small bowl of salted water nearby to prevent rice from sticking to your palms during shaping
- Add fillings when rice is still warm but not hot to prevent ingredients from becoming soggy
- Press gently but firmly when shaping to create compact onigiri that won’t fall apart during transport
- Cut nori sheets just before wrapping to maintain crispness and prevent moisture absorption
Serving and Storage Tips for Onigiri Rice Ball
Serving Tips
Serve onigiri rice ball snacks at room temperature for optimal texture and flavor. The nori wrapper should remain crispy, providing pleasant contrast to the soft rice interior. Arrange them on a platter with small dishes of soy sauce or pickled vegetables for enhanced presentation.
For gatherings, consider creating an onigiri rice ball station where guests can customize their own fillings. Popular options include tuna salad, grilled chicken, pickled vegetables, or seasoned mushrooms. This interactive approach works wonderfully for parties or family meals.
Storage requires careful attention to maintain quality. Wrap individual onigiri rice ball snacks in plastic wrap and refrigerate for up to two days. For longer storage, freeze wrapped onigiri for up to one month, thawing at room temperature before serving.
When packing for lunches, include nori separately and wrap just before eating to maintain crispness. This technique ensures your onigiri rice ball maintains its intended texture throughout the day.
Mistakes to Avoid while making Onigiri Rice Ball
Using long-grain rice creates the most common onigiri rice ball failure. This variety lacks the sticky properties necessary for proper shaping, resulting in crumbly, unstable rice balls that fall apart easily.
Overpacking fillings leads to structural problems and messy eating experiences. Limit filling to one tablespoon per onigiri rice ball to maintain shape integrity while still providing satisfying flavor.
Working with cold rice makes shaping extremely difficult and often produces dense, unappetizing results. Always shape your onigiri rice ball while the rice remains warm but comfortable to handle.
Skipping the hand-moistening step causes rice to stick aggressively to your palms, making smooth shaping impossible. Keep that water bowl handy throughout the entire process.
You Must Know
- Short-grain rice is absolutely essential for authentic texture – substitutions will result in failed onigiri that won’t hold together
- Salt timing matters significantly – add it while rice is warm for even distribution and proper flavor integration
- Filling placement should be centered and completely enclosed to prevent leaking during handling and eating
- Nori sheets lose crispness quickly when exposed to moisture, so wrap just before serving for best results
Suggestions for Onigiri Rice Ball Variations
Transform your basic onigiri rice ball with these creative filling combinations. Grilled chicken mixed with teriyaki sauce provides protein-rich satisfaction, while seasoned mushrooms offer umami depth for vegetarian preferences.
Seafood variations work beautifully in onigiri rice ball preparations. Try canned salmon mixed with mayonnaise and cucumber, or cooked shrimp with avocado for fresh, light options. These combinations provide healthy fats and lean proteins.
For those seeking inspiration beyond traditional Japanese flavors, check out our Ultimate Chicken Casserole for protein ideas that adapt well to rice ball fillings.
Vegetarian onigiri rice ball options include pickled vegetables, seasoned tofu, or roasted sweet potato. These alternatives provide fiber, vitamins, and satisfying flavors that complement the rice base perfectly.
Sweet variations can incorporate ingredients like sweetened red bean paste or fruit preserves. While less traditional, these create delightful dessert-style onigiri rice ball treats perfect for afternoon snacks.
For more creative meal ideas, explore our Creamy Garlic Shrimp Pasta which offers flavor profiles that could inspire unique onigiri combinations.
FAQs:
Yes, you can prepare onigiri rice ball snacks up to 2 days in advance. Wrap each one individually in plastic wrap and refrigerate. For best texture, bring to room temperature before serving and add nori wrapper just before eating.
Short-grain Japanese rice varieties like Calrose or sushi rice work best for onigiri rice ball preparation. These types have higher starch content, creating the sticky texture essential for proper shaping and holding.
Use proper rice variety, work with warm rice, keep hands moist, and apply gentle but firm pressure when shaping. Avoid overfilling and ensure the filling is completely enclosed within the rice.
Absolutely! Wrap each onigiri rice ball individually in plastic wrap and freeze for up to one month. Thaw at room temperature for 2-3 hours before serving. Add fresh nori wrapper after thawing for best texture.
Traditional fillings include pickled plum (umeboshi), grilled salmon, tuna with mayonnaise, seasoned kelp, and pickled vegetables. However, you can use any cooked protein or vegetable that complements rice flavors.
Conclusion
Mastering the onigiri rice ball opens up a world of portable, nutritious snacking possibilities. This versatile recipe adapts to countless flavor combinations while maintaining its essential simplicity and convenience. With proper technique and quality ingredients, you’ll create satisfying rice balls that rival any store-bought version.
The beauty of onigiri rice ball lies in its accessibility and customization potential. Whether you’re seeking quick breakfast options, packed lunch solutions, or party appetizers, this traditional Japanese snack delivers consistent results every time.
For additional recipe inspiration, visit AllRecipes or Bon Appétit for more onigiri variations and techniques to expand your repertoire.
More Easy Recipes Recipes:
- Make a Delicious Granola Pizza in Minutes – No Bake Granola Pizza
- Pumpkin White Chocolate Cookies: Perfect Fall Recipe Guide
- Best Huckleberry Cream Cheese Muffins Recipe – Easy & Delicious
- Fig Apple Crumble Dessert – Easy Recipe Ready in 45 Min
Recommended


📖 Recipe Card
Onigiri Rice Ball
- Total Time: 40 minutes
- Yield: 2 days in advance. wrap each one individually in plastic wrap and refrigerate. for best texture, bring to room temperature before serving 1x
Description
A delicious and easy recipe for onigiri rice ball that you’ll love making at home.
Ingredients
- 1 cup short-grain rice
- 1¼ cups water
- ½ teaspoon salt
- Filling of choice (tuna, salmon, pickled plum, etc.)
- 2–3 nori sheets, cut into strips (optional)
Instructions
- Step 1: Prepare Rice – Rinse short-grain rice under cold water until clear, then soak for 30 minutes to ensure even cooking
- Step 2: Cook Rice – Cook rice with 1¼ cups water in rice cooker or pot over medium heat until absorbed (18-20 minutes), then rest covered for 10 minutes
- Step 3: Season Rice – Transfer warm rice to bowl and mix in salt while still warm for even distribution
- Step 4: Shape Onigiri – Moisten hands with water, take two tablespoons seasoned rice, flatten slightly, add filling, and shape into triangles or balls
- Step 5: Wrap and Serve – Wrap each onigiri rice ball in nori strips if desired, then serve immediately or pack for later consumption
Notes
- Use a rice-to-water ratio of 1:1.25 for perfectly sticky texture that holds together without being mushy
- Keep a small bowl of salted water nearby to prevent rice from sticking to your palms during shaping
- Add fillings when rice is still warm but not hot to prevent ingredients from becoming soggy
- Cut nori sheets just before wrapping to maintain crispness and prevent moisture absorption
- Prep Time: 10 minutes
- Cook Time: 30 minutes
- Category: Snack
- Method: Cooking
- Cuisine: Japanese
Nutrition
- Serving Size: 1 onigiri
- Calories: 180 calories
- Sugar: 0g
- Sodium: 290mg
- Fat: 0.5g
- Saturated Fat: 0.1g
- Unsaturated Fat: 0.4g
- Trans Fat: 0g
- Carbohydrates: 40g
- Fiber: 1g
- Protein: 4g
- Cholesterol: 0mg
Keywords: onigiri rice ball, recipe, homemade, cooking, food, easy recipe