Jump to:
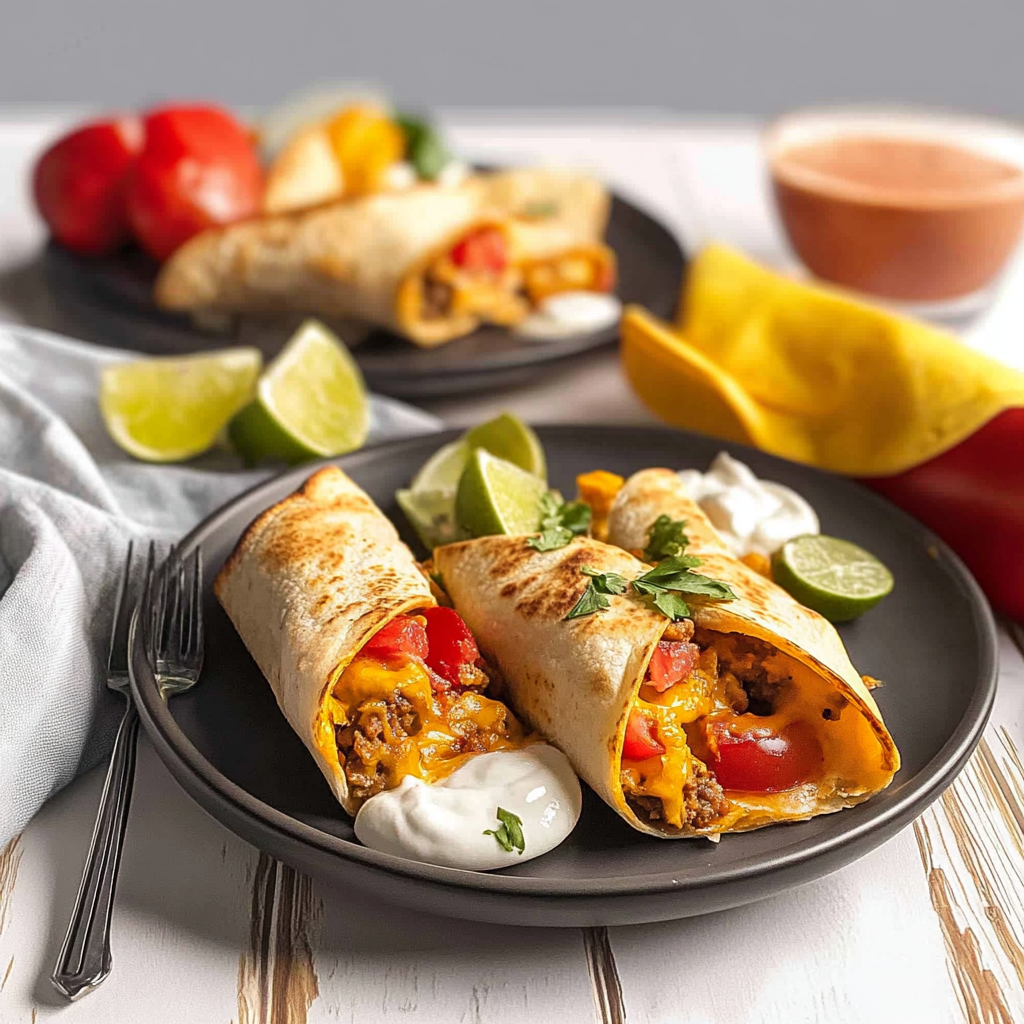
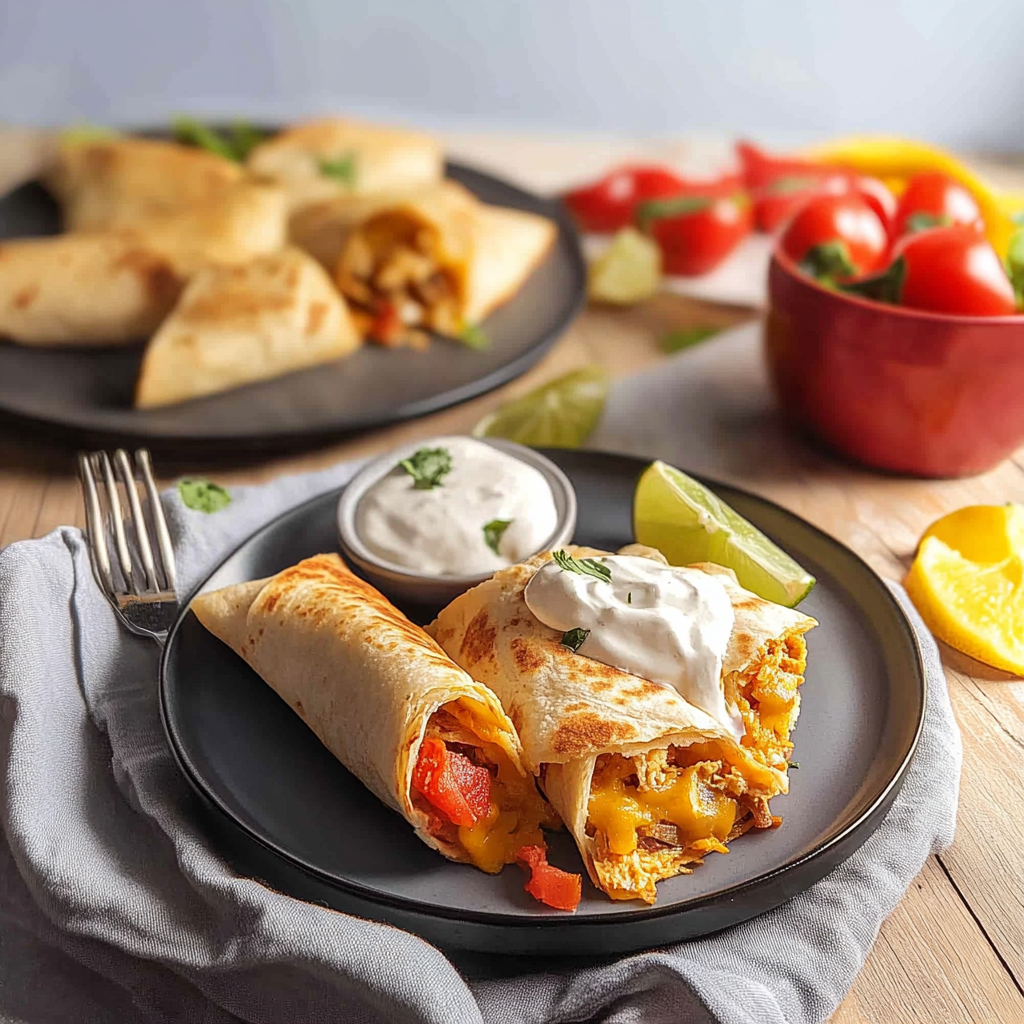
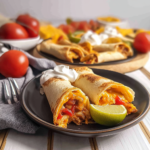
Discover the ultimate handheld meal with these irresistible cheesy pocket tacos! These delightful pockets combine the best of tacos and quesadillas into one perfect, portable treat. The crispy, golden exterior gives way to a gooey, cheesy filling packed with seasoned ground beef and creamy additions that will make your taste buds dance. Whether you’re planning a casual family dinner or searching for the perfect game day snack, these cheesy pocket tacos deliver maximum flavor with minimum fuss. They’re customizable, easy to make, and guaranteed to become a new favorite in your recipe collection.
Why This Recipe Works
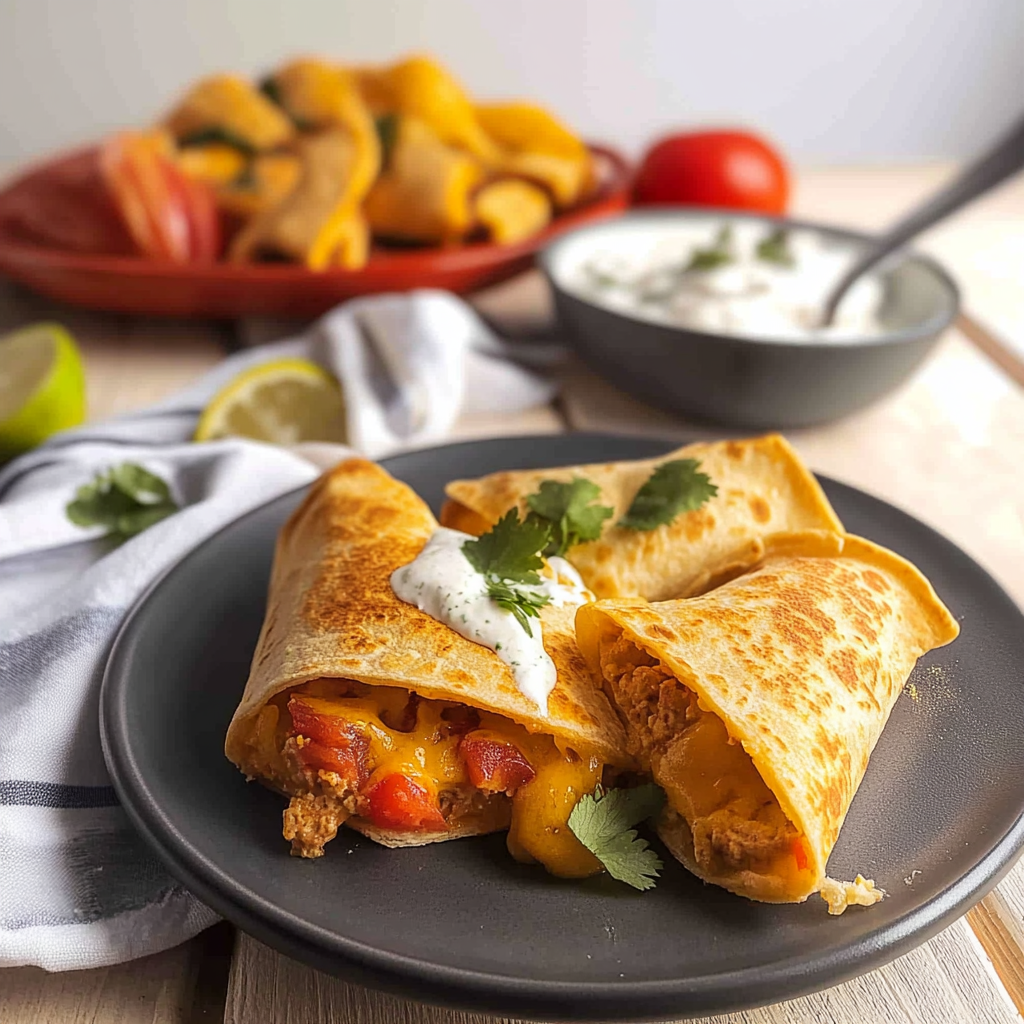
The magic of these cheesy pocket tacos lies in their perfect balance of textures and flavors. The combination of seasoned ground beef, melted cream cheese, and sharp cheddar creates a filling that’s rich, tangy, and wonderfully savory. When sealed inside a tortilla and crisped to golden perfection, the contrast between the crunchy exterior and molten interior is simply irresistible.
The simplicity of preparation is another reason this recipe shines. Using pre-made tortillas and taco seasoning cuts down on prep time while still delivering homemade taste. The addition of cream cheese might seem unconventional, but it creates a creamy binding agent that prevents the filling from falling out and adds a luxurious mouthfeel to every bite.
Finally, these cheesy pocket tacos solve the common taco problem of fillings falling out. By sealing everything inside a folded tortilla, you get all the flavor of traditional tacos in a neater, more portable package that’s perfect for everything from quick dinners to party appetizers.
Why You'll Love This Recipe
- Perfect handheld meal with no messy drips or spills
- Crispy exterior with a molten, cheesy interior
- Versatile recipe that can be customized with your favorite toppings
- Kid-friendly dinner that adults will equally enjoy
- Make-ahead friendly for busy weeknights
- Great for using up leftover taco ingredients
These pockets deliver everything you love about tacos but in a convenient, handheld format that minimizes mess. The combination of crunchy exterior and gooey, cheesy filling makes for a satisfying texture contrast that’s hard to resist. Plus, they’re endlessly customizable, allowing everyone in the family to enjoy their own personalized version.
What You’ll Need
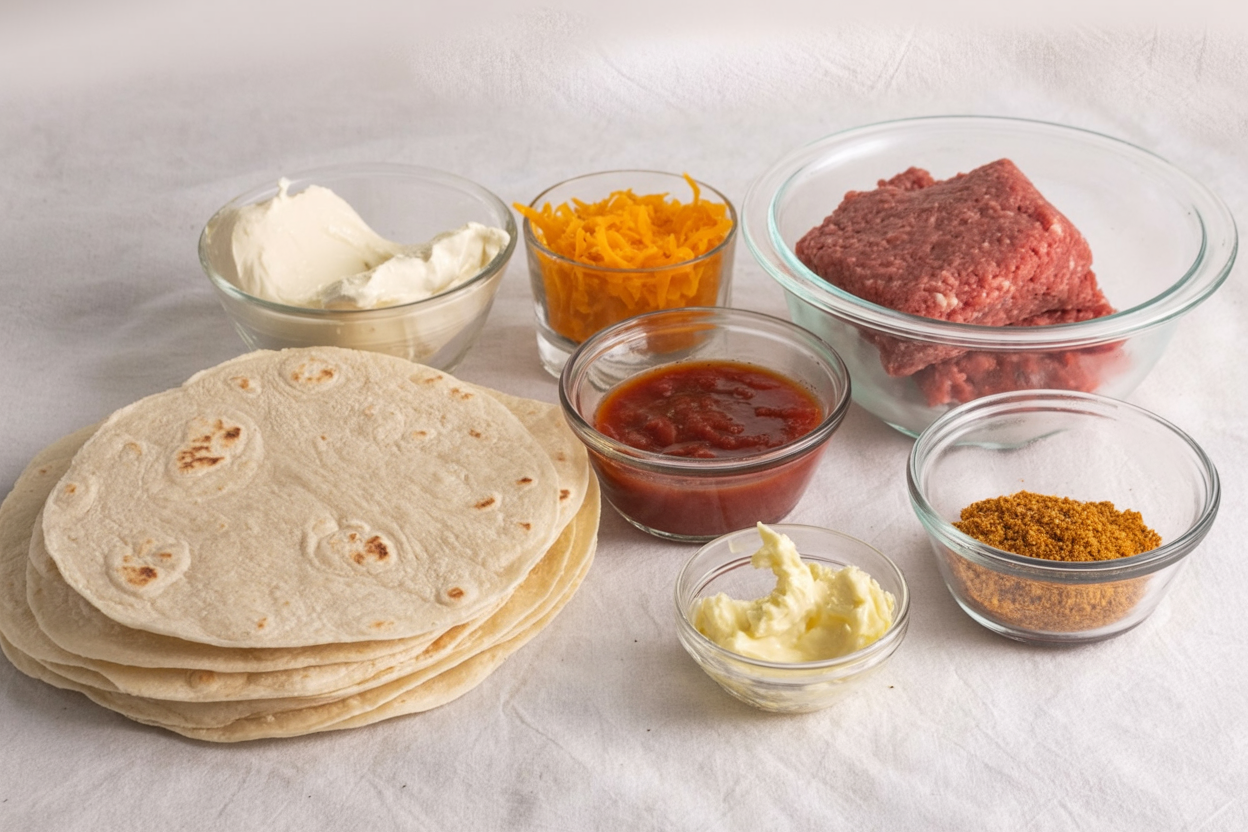
Ingredients
- 1 packet taco seasoning
- 1 pound ground beef
- ½ cup salsa
- 8 ounces cream cheese, softened
- 2 tablespoons melted butter
- 1 cup cheddar cheese, shredded
- 12 six-inch tortillas
- Optional toppings: sour cream, additional salsa, green onions
The base ingredients create the perfect cheesy pocket tacos, but feel free to add additional elements to the filling like black beans, corn, or diced peppers. For the tortillas, flour works best as they fold and seal more easily than corn tortillas, though you can use corn tortillas if you prefer their flavor.
Tools
- Large skillet for cooking the ground beef
- Mixing bowl for preparing the filling
- Baking sheet
- Parchment paper or silicone baking mat
- Pastry brush for applying melted butter
- Spatula
- Measuring cups and spoons
Most of these tools are kitchen basics you likely already have. The parchment paper or silicone baking mat is particularly helpful to prevent sticking and make cleanup easier.
How to Make Cheesy Pocket Tacos
Let’s break down the process of creating these delicious cheesy pocket tacos:
- Prepare the filling: In a large skillet over medium heat, brown the ground beef until no pink remains, about 5-7 minutes. Drain excess fat if necessary. Add the taco seasoning and water according to packet instructions, typically about ¼ cup. Simmer for 3-4 minutes until slightly thickened.
- Create the cheesy mixture: Transfer the seasoned beef to a mixing bowl. Add the softened cream cheese and salsa. Stir until well combined and the cream cheese is fully incorporated. Fold in ¾ cup of the shredded cheddar, reserving the rest for topping.
- Preheat your oven: Set your oven to 375°F (190°C) and line a baking sheet with parchment paper or a silicone baking mat.
- Assemble the pocket tacos: Place a tortilla on a flat surface. Add approximately 3 tablespoons of the beef and cheese mixture to one half of the tortilla, leaving about a ½-inch border around the edge. Fold the empty half over the filling to create a half-moon shape.
- Seal the edges: Gently press the edges together with your fingers. For a decorative touch and extra security, you can crimp the edges with a fork.
- Prepare for baking: Place the assembled pocket tacos on the prepared baking sheet. Brush the tops with melted butter and sprinkle with the remaining cheddar cheese.
- Bake to perfection: Bake in the preheated oven for 12-15 minutes, until the tortillas are golden brown and crispy, and the cheese is melted and bubbly.
- Cool briefly: Allow the cheesy pocket tacos to cool for 2-3 minutes before serving. This helps the filling set slightly and prevents burning your mouth on the hot filling.
Serve your cheesy pocket tacos with additional toppings like sour cream, extra salsa, sliced green onions, or fresh cilantro. A simple side salad or Mexican rice makes this a complete meal.
Serving and Storage Tips
Serving Tips
These cheesy pocket tacos can be enjoyed on their own or with complementary sides and toppings that elevate the experience:
- Dipping sauces: Serve with small bowls of sour cream, guacamole, or extra salsa for dipping.
- Fresh elements: A sprinkle of fresh cilantro, diced tomatoes, or sliced green onions adds brightness and color.
- Side dishes: Pair with Mexican rice, refried beans, or a simple green salad to create a complete meal.
- Serving temperature: These pocket tacos are best enjoyed warm but not scalding hot. Let them cool for 2-3 minutes after baking for the perfect temperature and to allow the filling to set slightly.
- Presentation: For a nice presentation, arrange the pocket tacos on a platter with small bowls of various toppings and garnishes in the center.
To store leftover cheesy pocket tacos, let them cool completely, then place in an airtight container in the refrigerator for up to 3 days. Reheat in a 350°F oven for 10 minutes or until warmed through. They can also be frozen for up to 2 months. To freeze, place cooled pocket tacos on a baking sheet in a single layer until frozen solid, then transfer to a freezer bag. Reheat from frozen in a 375°F oven for about 15-20 minutes.
Mistakes to Avoid When Making Cheesy Pocket Tacos
Even a simple recipe like cheesy pocket tacos has potential pitfalls. Here are some common mistakes to avoid:
- Overfilling the tortillas: This is perhaps the most common mistake. Too much filling makes it difficult to seal the pocket and can lead to leakage during baking. Stick to about 3 tablespoons of filling per 6-inch tortilla.
- Skipping the butter: The melted butter brushed on top helps the tortillas achieve that gorgeous golden-brown color and adds flavor. Don’t skip this step!
- Using cold cream cheese: Cold cream cheese won’t incorporate well with the other ingredients. Make sure it’s properly softened for a smooth, creamy filling.
- Not sealing the edges properly: If the edges aren’t sealed well, the filling will leak out during baking. Press firmly and consider using a fork to crimp the edges for extra security.
- Baking at too high a temperature: This can burn the tortillas before the filling is heated through. Stick to the recommended temperature of 375°F.
- Serving immediately from the oven: The filling will be extremely hot and needs a few minutes to cool and set. Be patient to avoid burnt mouths!
Avoiding these common mistakes will help ensure your cheesy pocket tacos turn out perfectly every time, with a crispy exterior and gooey, flavorful interior that stays where it belongs—inside the pocket!
The key to truly outstanding cheesy pocket tacos is in the details. Consider using a pizza cutter to trim any uneven edges after folding, which creates a more uniform appearance. If you’re making these for a party, you can prepare them up to the baking stage, refrigerate for a few hours, and then bake just before serving.
For the best texture contrast, make sure your oven is fully preheated before baking. This ensures the outside gets crispy while the inside remains gooey and delicious. And don’t forget that resting time after baking—it’s crucial for allowing the melted cheeses to cool just enough so they’re not scalding but still delightfully warm and stretchy.
You Must Know
- The key to perfect cheesy pocket tacos is balancing the filling amount—enough for flavor but not so much that they burst during baking
- Allow the pocket tacos to rest for 2-3 minutes after baking for the ideal texture and to prevent burning your mouth
- The recipe is incredibly versatile—don’t be afraid to experiment with different proteins, cheeses, and add-ins
- These freeze beautifully, making them perfect for meal prep and quick weeknight dinners
Suggestions for Customizing Your Cheesy Pocket Tacos
One of the best things about cheesy pocket tacos is how versatile they are. Here are some delicious variations to try:
- Protein variations: Substitute the ground beef with ground turkey, shredded chicken, or pork carnitas for a different flavor profile. For a vegetarian option, replace the meat with black beans, pinto beans, or a mixture of sautéed vegetables.
- Cheese options: While cheddar is classic, try pepper jack for heat, Monterey Jack for meltability, or a Mexican cheese blend for authentic flavor. For a more complex taste, combine two or more cheese varieties.
- Add-ins for the filling: Incorporate corn, black beans, diced bell peppers, or olives into the filling mixture. For a breakfast version, add scrambled eggs and breakfast sausage.
- Tortilla alternatives: Try whole wheat tortillas for added nutrition or flavored varieties like spinach or sun-dried tomato for visual appeal and extra flavor.
- Sauce variations: Replace the salsa in the filling with enchilada sauce, verde sauce, or a combination of diced tomatoes and green chilies for different flavor profiles.
- Cooking methods: While baking yields great results, you can also cook these in a panini press, on a grill, or in a skillet with a little oil for different textures.
For a fusion twist, consider creating Italian-inspired pocket tacos with Italian seasoning, marinara sauce, and mozzarella cheese, similar to a calzone. Or go Greek with ground lamb, feta cheese, and tzatziki sauce for dipping. The possibilities are endless!
Chef's Helpful Tips
- For extra crispy pockets, lightly spray or brush both sides of the tortillas with oil before filling and folding
- Warm your tortillas for 10-15 seconds in the microwave before filling to make them more pliable and less likely to crack
- For a spicier version, add diced jalapeños or a dash of hot sauce to the filling
- Prepare the filling in advance and refrigerate for up to 2 days for quicker assembly when you’re ready to bake
- Use a cookie scoop to portion the filling evenly for each pocket taco
FAQs:
Yes! You can prepare the filling up to 2 days ahead and store it in the refrigerator. You can also assemble the pocket tacos and refrigerate them (unbaked) for up to 24 hours. Just add a few extra minutes to the baking time if cooking them straight from the refrigerator. For longer storage, freeze the assembled but unbaked pocket tacos for up to 2 months.
While flour tortillas are recommended for their pliability and ability to seal well, corn tortillas can be used with a few adjustments. Warm them thoroughly first to prevent cracking, and consider using a toothpick to hold them closed during baking. Note that corn tortillas may yield a different texture and might not seal as well, potentially leading to some filling leakage.
Ensure you’re not overfilling the tortillas (about 3 tablespoons of filling per 6-inch tortilla is ideal). Leave a half-inch border around the edges, press firmly to seal, and consider crimping the edges with a fork. If you’re still having issues, a little beaten egg brushed along the edge before folding can act as an excellent “glue” to hold everything together.
For the best texture, reheat them in a 350°F oven for 8-10 minutes until heated through. This preserves the crispy exterior better than microwave reheating. If you’re in a hurry, you can microwave them for about 30 seconds, but the tortilla won’t be as crispy. Air fryers also work wonderfully for reheating—3-4 minutes at 350°F should do the trick.
Absolutely! Simply substitute the ground beef with beans (black, pinto, or refried), sautéed mushrooms, or plant-based meat alternatives. You can also add extra vegetables like corn, bell peppers, or zucchini to create a hearty vegetarian filling. Keep the cream cheese and cheddar for that signature cheesy experience, or use plant-based alternatives if making a vegan version.
Cream cheese serves multiple important functions in this recipe. It creates a creamy texture that binds the filling ingredients together, preventing them from falling out of the pocket. It also adds a rich, tangy flavor that complements the spiciness of the taco seasoning. Finally, it melts beautifully, contributing to that gooey, cheesy interior that makes these pocket tacos so irresistible.
Conclusion
Cheesy pocket tacos represent the perfect marriage of convenience and flavor—combining the beloved taste of traditional tacos with a mess-free, portable format that’s suitable for any occasion. Whether you’re feeding picky children, hosting a game day gathering, or simply looking for a creative spin on taco night, these pockets deliver satisfaction in every bite.
The beauty of this recipe lies in its adaptability. Once you master the basic technique, you can create endless variations to suit your taste preferences and what you have on hand. For more family-friendly dinner ideas, check out our Ultimate Chicken Casserole, another comforting dish that’s sure to please everyone at your table.
If you’re looking for something on the lighter side to balance out these indulgent cheesy pocket tacos, our 10-Minute Creamy Garlic Shrimp Pasta makes a wonderful accompaniment. And don’t forget to explore other creative taco variations like these Grands! Easy Taco Melts or Davie Crockett’s Ground Beef Wrap-Ups for more taco-inspired goodness.
Give these cheesy pocket tacos a try the next time you’re craving Mexican flavors but want something a little different from the ordinary. The crispy exterior giving way to that molten, cheesy filling creates a memorable taste experience that will have everyone asking for seconds. Happy cooking!
More Easy Dinner Recipes:
- Tamarind Glazed Grilled Chicken – Easy Sweet & Tangy Recipe
- Keto Dinner Recipes: Delicious Low-Carb Meals for Every Night
- Red Lentil Curry Amazing Recipe Easy 30-Minute Vegan Meal
- Stuffed Acorn Squash: Amazing Recipe for Perfect Fall Dinner
Recommended


📖 Recipe Card
Loaded Cheesy Pocket Tacos
- Total Time: 30 minutes
- Yield: 12 pocket tacos 1x
Description
These Loaded Cheesy Pocket Tacos combine the best of tacos and quesadillas in a crispy, handheld form. Packed with seasoned ground beef, creamy cheese filling, and a golden-brown tortilla shell, they’re the perfect mess-free taco alternative for family dinners, game day snacks, or make-ahead meals.
Ingredients
- 1 packet Taco Seasoning
- 1 pound ground beef
- ½ cup salsa
- 8 ounces cream cheese, softened
- 2 tbsp melted butter
- 1 cup Cheddar Cheese, shredded
- 12 6 inch tortillas
- Sour cream, salsa, green onions all toppings optional
Instructions
- Brown ground beef in a skillet; drain fat. Stir in taco seasoning and water (per packet directions); simmer 3-4 min.
- Transfer beef to a bowl; mix in softened cream cheese and salsa. Stir in ¾ cup cheddar.
- Preheat oven to 375°F (190°C). Line baking sheet with parchment.
- Place 3 tbsp filling on half of each tortilla; fold over and seal edges.
- Place on baking sheet; brush tops with melted butter and sprinkle with remaining cheddar.
- Bake 12-15 min until golden and crispy. Cool 2-3 min before serving.
Notes
- Warm tortillas before filling to prevent cracking.
- Avoid overfilling to prevent leaks.
- Freeze unbaked pocket tacos for up to 2 months; bake from frozen with extra time.
- Use crimped edges with a fork for better seal.
- For spicier flavor, add diced jalapeños to the filling.
- Prep Time: 15 minutes
- Cook Time: 15 minutes
- Category: Main Course
- Method: Baking
- Cuisine: Mexican-American Fusion
Nutrition
- Serving Size: 1 taco
- Calories: 290
- Sugar: 1g
- Sodium: 560mg
- Fat: 17g
- Saturated Fat: 8g
- Unsaturated Fat: 7g
- Trans Fat: 0.5g
- Carbohydrates: 30g
- Fiber: 1g
- Protein: 15g
- Cholesterol: 55mg
Keywords: ground turkey tacos, vegetarian pocket tacos, cheesy quesadilla pockets, beef taco pockets, chicken pocket tacos, baked tacos, stuffed tortillas, handheld taco recipe